Thursday, May 13, 2010

Another Scripture Swap!

This time, the swap featured the "Veranda" paper pack...  BUT, I decided to make my own paper, keeping with the Veranda colors.

The left side of the page is done using a "sueding" technique of sponging the Creme Brulee ink onto the Creme Brulee CS (I used a piece of paper along the side to mask of the solid line.).  Then, using the "Damask Tiles" stamp set, I stamped four identical tiles onto each of the remaining corners of the un-sueded portion of the page.  I used a smaller tile and stamped it onto Juniper CS four times, then used a punch to get the squares.  One of the four squares was then cut in half diagonally in order to make the photo corners.  The other three squares (and the verse) were all mounted onto Cocoa CS.  The verse is printed on my computer, using the RGB codes to help it to match with my layout. 

Hope that you like it!  I know that I enjoyed the results of the swap - it is SOOO nice to see ideas from other scrappers!
Have a great night!

Wednesday, May 12, 2010

Bella is good!

Anyone who knows and loves all things stamping has likely heard of the "Stampin Bella's"  They are SUCH a cute little line of stamps featuring "Bella" and her "Fella" in a variety of hobbies and activities...  WELL, I have begun a Bella collection and decided to marry Bella to some CTMH paper.  Here's the end result:

I stamped the Bella image - called "Spa Bella" - once on the White Daisy CS, and once onto the purple printed B&T from the retired "Paper Garden" pack.  Using microtip scissors, I cut out the towel, robe, and slippers from the Bella on the B&T, then ran them through the Xyron to make stickers.  Finally, I placed the now printed Bella image over top of the plain stamped image.  NOT the easiest way of coloring in an image, but I really wanted her to have a floral robe, etc.  :-)  The striped paper is also from the "Paper Garden" pack, and the CS are petal (with edges sanded) and blush.  All in all, a simple card, but you HAVE TO HAVE the microtip scissors to cut out the itsy-bitsy pieces like the towel and slippers!

Now...  She looks happy with her drink, so I think I'll take up her suggestion  :-)  Have a wonderful night!

Tuesday, May 11, 2010

It's not easy being green...

OK, so I confess...  I am addicted to the color green...  Almost anything is better if it's green (OK - people and meat are two exceptions to this rule, even *I* can acknowledge that!)...  SO, when the chance came up to join in a swap that celebrated the color green, you guessed it, I jumped RIGHT into it...  Two spots, but I only have one finished so far (who knows, maybe that random stamped sheet will make a re-appearance!)
:-)

Here is my first entry:

Using the CTMH "With Love" stamp set, I stamped out the fun little flowers and stems in topiary ink onto citrus leaf cardstock.  Then, I took a piece of white daisy CS and stamped the vase in topiary ink, then cut it out and put it through the Xyron sticker maker and adhered it to the citrus leaf...  Grab the trusty Gelly Roll white gel pen and colored in the tips of the flowers, then added a white brad to ground each flower.  A little white organza ribbon (which is a little shimmery, not that you can really tell that here), and a sentiment from the "Say It in Style" set, and wa-la...  A celebration of green to let someone special know that I am "thinking of you..."

Monday, May 10, 2010

Random Stamping Extravaganza!


OK, so I decided to join a swap featuring the "random stamping" technique... This is NOT a technique that I specialize in, so I thought that it would be a good way to push myself to step out of the safe little box of stamping 1-2 images and into the zone of making my own paper with stamps...  I will NOT confess to the number of tries that I made before coming up with a random stamped design that I actually liked, but I will confess that I am now addicted to the process...  There is something indescribable about knowing that you can make "just the right paper" in "just the right colors" for ANY need...  Hehehe... I may have created a monster within myself after all  :-)

SO, design number one borders on the whimsical!  For this, I used the  CTMH "TLC" stamp set to make the random stamped paper.  Colors are White Daisy, Goldrush, Hollyhock, and Sunny Yellow.  The sun is an outline stamp, so I used my trusty marker (goldrush - using the brush tip and not writing tip) to fill in the blank.  The strip of actual B&T paper comes from the "Tinkering" paper pack.  The sentiment is also from the TLC stamp set - which, I must admit, is SUCH a cute set to play with!!!


My second entry for the swap moves back away from whimsy and into more floral-esque...  For this entry, I used my CTMH "One of a Kind" stamp set.  Colors are Vineyard Berry, Hollyhock, and Blush.  The CS are White Daisy,Vineyard Berry and Blush, and the ribbon is Vineyard Berry. The sentiment comes from the "Say It In Style" stamp set.

The flower that is singled out is done by stamping first onto the blush ink pad, then rolling the edge of the stamp in the vineyard berry ink, finally stamping onto the paper.  When using this technique, be cautious to ALWAYS stamp the image onto a lighter color ink and roll onto the darker, otherwise you'll end up transfering the dark ink onto the lighter stamp pad!  The crystal in the center is one of the "clear sparkles"


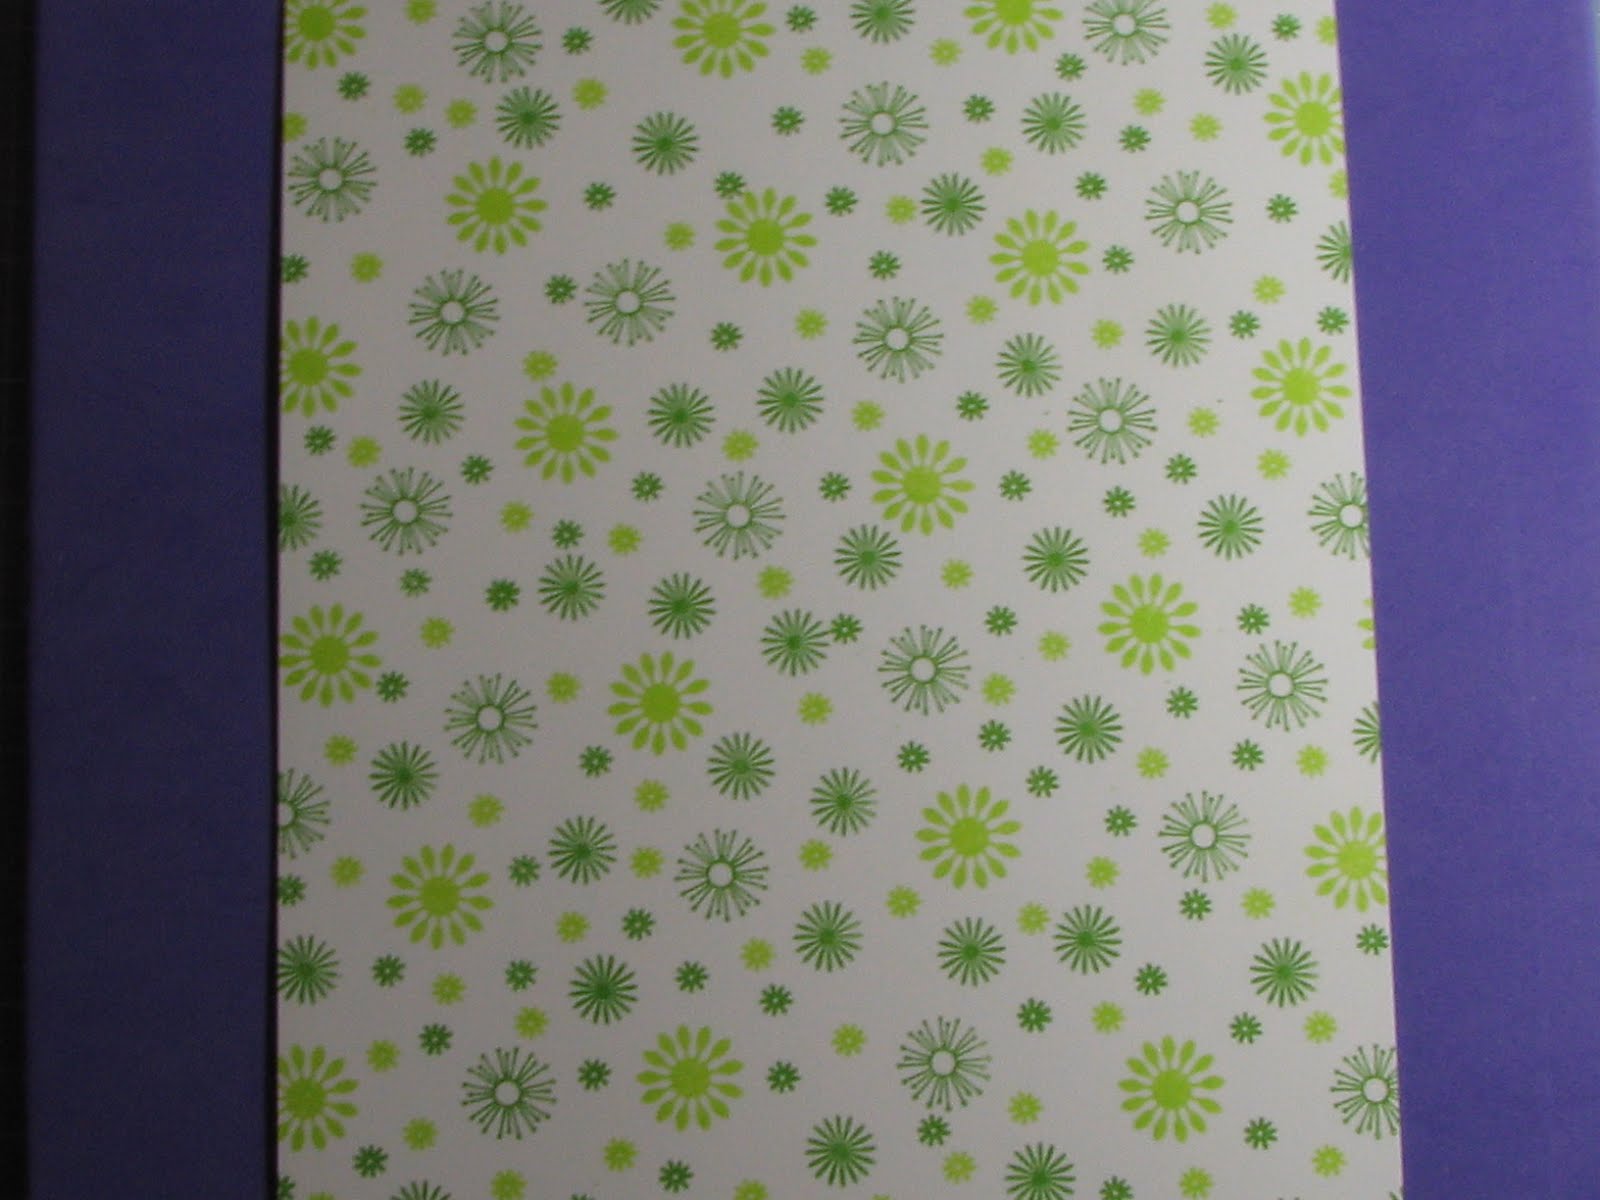
I had no more entries needed for the random stamp swap (I only had two spaces), but the bug was not yet out of my system...  Knowing that I have a swap upcoming that focuses on the color green (go figure, I'd sign up for a GREEN swap!?!?!)...  I decided to try my hand at a third random stamping set...  Here is the final sheet of paper...  NO CLUE what I'll make from it, but when I do, I'll post that, too!

Stamp sets involved in making this lovely sheet are as follows (all are CTMH): Connections, Endless Love, and Cottage Floral.  The inks are Citrus Leaf and Clover Meadow...  To be continued as to the fate of this paper!

Sunday, May 9, 2010

Felicity swap (entry #2)

For my second entry into the Felicity "All About Me" swap, my title was "If I could turn back time..." I decided this time to play with the sorbet and desert sand combo, adding in a little bamboo for some fun.

Here is a picture of the completed layout:

The first page leaves a LOT of room for either some pictures or journaling... I still haven't decided what I would do "if I could turn back time," so in designing the swap, I decided that I needed to have room to choose :-)

The scallop on the left edge is actually made by taking the guard off of my corner rounder and punching along the edge of some desert sand cardstock... Simple :-)

The little glass dots were a TON of fun to make... I bought a bag (which I *think* amounted to a pound) of clear glass baubles from Pat Catans for something ridiculously cheap (around $6)... THEN, take a SMALL amount of the glass baubles and place them into a *disposable* cup with a few drops (you can always add more, but can't take away!) of Adirondak ink - I used the latte color for my purposes... Stir with a popscicle stick (or something else that is disposable), and let dry on wax paper. Wa-la REALLY cheap drops of color for the page!

The flowers are all stamped in sorbet ink and mounted on dimensional elements - a retired floral design. I inked the DE in either sorbet (the larger one) or bamboo (the smaller ones) and edged all of them with desert sand ink


The right page:
Can I just tell you how much of a time I had with trying to get the title shaped the way that I wanted it?!?! I printed the words from the computer and eventually had the bright idea to print a bracket on its side, then use that as a guide to cut out the bottom to the shape that I wanted it to be... inked the edges with desert sand to try to hide any imperfections from having hand cut the shape. :-)

The flowers on the right mimicked the same design as the large flower on the left. The lower right-hand flower was layered with a sorbet and a desert sand flower (both then cut out and mounted on the DE)... Just the one layer just didn't seem like it did the job.
When it was all said and done, I was happy with the end results! Hope that you enjoyed the layouts!

Holy Cow has it been a while!!!

I was talking to a friend recently and mentionned that I had a blog... Then I remembered that while I have had EVERY intention of posting to said blog, life has been happening at such a rapid pace that blogging has been my last thought before bed, but not a step that I manage to take during my waking hours....

SO, hopefully this week I can catch you all up on some of the projects that I have been working on since September (that is, those that I have remembered to take pictures of before sending off!)

The first one that I will share is from an "All About Me" swap that I participated in with other CTMH consultants. For so many of us (myself included), it is terribly easy to scrapbook about everything and everyone around us, but we forget that we (or, shall I say *I*) am an integral part of the life that we / I live... I can't forget to scrap about who *I* am and the journey that I take through this amazing life... SO, a group of us were assigned titles to help us to reflect on the things that are important to us, the meaning of our name, etc... My two titles were "Things that people say about me..." and "If I could turn back time..."

Since Blogger has a limit on the amount of picture space per post, I will post the "If I could turn back time" post later...

All paper and stamps for this swap used the "Felicity" pack that was on special for CTMH either late last year or early this year (you KNOW it's been a while when I can't remember when the special was!!)

Here is a shot of the two pages together (do you like Stickle alley as it watches over my worktable?!)...


Here is a closer shot of the titling. The "Some people say..." was actually printed off of my computer. The swirl and bird are both from the Felicity stamp set. The bird is sitting up on some foam squares to give her a little dimension. The autumn terracotta paper is actually textured CS that I sanded to give it a little more character. The other colors are bamboo and desert sand CS.

Page 2 leaves a little room for the actual things that people say... I liked the idea of the birds doing the talking, so I used the little bird image from Felicity, then decorated the bottom corner to reflect the bird from the title... All the birds are on foam squares.


A closer view of the little birds... TOO cute :-)
And the bottom corner image from the right page.


Not a "complicated" layout, but it was fun to put together - you might say that it's a layout for the birds :-)