Saturday, September 15, 2012

A little fall floral action...

Not that I really believe that anyone ever reads this blog - especially given the infrequency of my postings, but even if someone is out there in the stratosphere reading this, you should start reading this post with the knowledge that my Pap-pap owned a flower shop.  It was one of my havens as a child.
Today, while I was perusing through Micheal's, I came across a fall silk flower sale and Pap-pap came into my brain.  You see, I've been wanting a fall colored arrangement for my dining room table for a couple of years now, but I'm too cheap to pay what they want for pre-arranged pieces that aren't truly what I wanted anyway.  With this in mind, I spent $6 on flowers and $1.20 on a bead stick (I already had florist block, the bucket, and tons of ribbon at home).  I'm rather pleased with the results - especially given that it has to be at least 25 years since I last played with flower arranging (my Pap-Pap died when I was in the 6th grade).
If anyone reads this, let me know what you think...  I'm now debating making the winter arrangement, so we'll see.  This blog may become multi-craft here pretty quickly!! (Hopefully translating to my posting more frequently!)


This first picture is just of my supplies in making the arrangement...  For some reason, I felt compelled to take a pic of that, and now compelled to share it here!


This would be the final product  :-)  Happy dining table for me!

Sunday, February 19, 2012

My project of the past year - finale!

Sooo...  With a few more strokes of the brush, a LOT of clean-up, and felt-tipping the bottom of all of my furniture, I was able to begin re-assembly...  The only challenge that I ran into with this was my complete inexperience with all things electrical prior to the start of this project...  BUT, I did manage to install the two lighting fixtures - one in the bar and one over the dining room table.  Overall, I am really proud of the results.  I have to say that I love the finished product.  It definitely makes the house more "mine" and THAT is a feeling to enjoy  :-)  SO, here are the finished pics:

First off I'll show you the newly finished bar room.  LOVED the tone of this orange color...  And with it being such a small room, I decided that the ceiling needed to be the same color as the walls... Still haven't found window trimming for this room yet (I am open to any good suggestions!), but overall love the warm feeling and the ability to incorporate Nana's wash stand into the room - converted into a little wine bar, of course!

And here is the light fixture that I installed...  Even though it's a little room, I wanted to have lights that I could focus around the room.  Eventually I will finish refinishing a hoosier cabinet that I got from a friend, and it will move into the bar to store all my bar glassware.  Then the spotlights can sit on my butterfly canvas (shown below), the wine rack, and the refinished hoosier...  Motivation to make sure that I refinish it well  :-)
Now, onto the family room / dining room combination.  This room is about 14 x 22 feet, so it always just felt mammoth before.  Now I've been able to divide it a little without shrinking the room...
The first pic I took while sitting on the love seat at the far end of the room, looking back toward the dining room.  
 This one is from the kitchen entry into the dining room, looking back toward the bar... Another piece of Nana's furniture (ironically, rescued from a barn many moons ago), now sits under the window.  Eilis has finally ranked a "toy basket" under the light in the family room.  Not that she has yet been trained to put her toys away, but she knows where they went when they disappear on her, so that's a start that I can live with!
 This is where the loveseat and couch come together.  I don't personally like overhead lighting too much, so I use a lot of lamps...  And the 10 outlets around this back room make that VERY feasible...
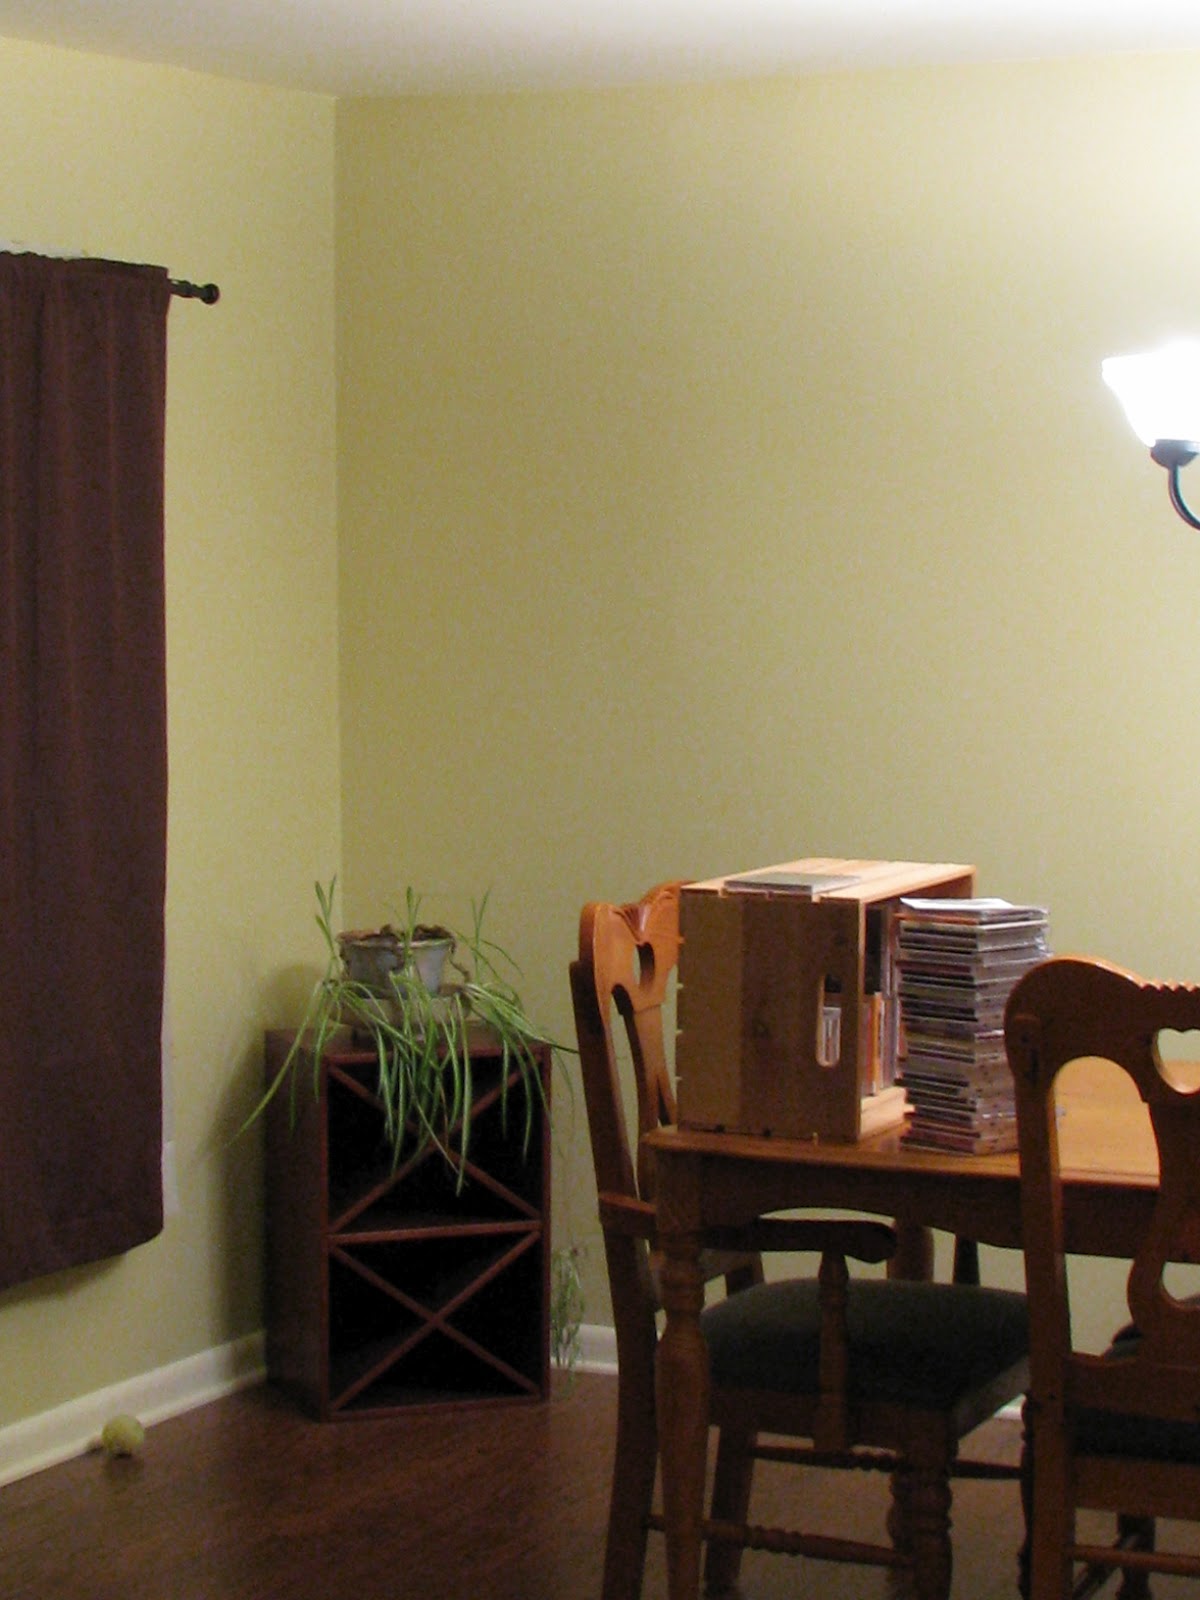
Another shot of the dining room area...  Complete with a crate of CD's that I borrowed from a friend & a wine rack that this same friend's family was getting rid of, now re-purposed into a plant stand for a spider plant that my supervisor at work was convinced was dead...  Guess what...  It's quite happy in its new home  :-)

Finally, a closer picture of the dining room light fixture.  This was a bit of a bear to install, because I had to figure out how to shorten the chain without mangling what was left behind.  It took a few iterations before I got it right, but thankfully the chain was about 8 feet long and I only needed about 16 inches of it  :-)  In the back, you can see the shelf that I found at Target for my new microwave stand.  Got the matched horizontal one for my television.  There are a lot of different wood tones and faux wood tones in the room, but I think it ends up feeling cozy. 
Did I mention that getting rid of the old ceiling tile & installing the drywall has also helped out on heating in this room- double bonus!!  Overall, I am SOOO happy to have this project done and my rooms reclaimed.  Anybody up for a celebration?!

My project of the past year... Part 2

In my defense...  This WAS written within a week of the last posting...  But I apparently saved it instead of POSTING it...  Lesson learned  :-)  Not that I believe that ANYONE was on the edge of their seat awaiting this post...  So here you are...  Your reward for your patience  :-)

Now that all of the demolition was done and some basic fixes completed...  It was time to start putting the room back together - YAY!!!  With the help of several guys - Kenny (and Kyan), Ryan, Kevin, and Bobby- and the rental of a drywall lift, all of the ceiling was installed over the course of 2 separate days (2 weekends- in the middle of which is when Nana fell again - another long story)...  This was the new ceiling in its first rendition (and don't you just LOVE my sheet "curtain" to protect my kitchen from too much ick getting through):

After the guys helped me to get the drywall up, it was my time to have a little fun mudding and smoothing it out to make it a workable ceiling...  With the help of a nice long bench lent to me by a friend's uncle (you can see the bench in the pic above - HIGHLY recommend one if you have any work to do on a ceiling - SO much easier!!)  SO, after several hours of mudding, sanding, and repeating, this was the next series of pics (and yes, the sheet curtain became a tarp for this portion of the project):


I do just have to say here that when you have a high degree of stress in your life, this process can be strangely comforting and soothing.  I may have to keep this in mind later in life  :-)
Then came the prime coat... The main room was primed just in white...  Had to take the pic half way through the first prime coat, or I would have had no sunlight to use for it  :-)
The small bar room (it's only a 6.6 feet by 8 feet room) was primed in grey because I had a SPECIAL idea in mind here...
Then, with the threat of having to get this all finished YESTERDAY because it was looking like I would have to clean out Nana's apartment and move her into supported living...  I got a VERY special visit from 2 dear friends - who actually live in Chicago and had just closed the campground that Jim and his wife own about 5 hours away from me...  Jim and Mike traveled down in the middle of the week to help me get the flooring installed- baseboards and all- and to get as much painting done as humanly possible all in the course of less than 2 days...  Here are the action shots:


And one more with a teaser of the flooring and the color of the bar  :-)  Then you'll have to wait until next week for the grand reveal - the finished room!!!  :-)  SO, here's my teaser...
Next week I'll post the finished room pics... See you then!

Monday, February 6, 2012

My project of the past year...

OK...  So I admittedly vanished...  Again.  And I have the pics to explain why!!  In July of 2011, it became rather emergent that I take on what was to be a somewhat minor renovation project - my cats had ruined the carpet in a room in my house & the ceiling tile was not enough of an insulative barrier... SO, I decided to take it out. I was so excited to get things started that I forgot to take ANY pics until the furniture was all out of the room and half the carpeting gone!

Then there came the inspector general...
 
 All rolled up and ready for the trash...
And treating the floors - hydrogen peroxide wash then baking soda odor absorbent (trust me, it works!)

And then came the ceiling...


All the way to the insulation - YAY!!!  Uhhh...  Wait...  What was THIS:

What it translated to was my somewhat minor renovation became a LOT more complicated  :-(
SO..  Suddenly I was going to get a little course in wiring 101 and the safe and unsafe practices of the people who last worked on my house...  Let's suffice to say that it got messy:

The bottom layer of insulation came down, wiring came out, insulation went back UP, holes got intentionally punched into my walls, and wiring got replaced. WHEW!!   (Tired yet??) Several gentlemen from my church were wonderful in getting the wiring issue resolved - absolutely no way I could have done that myself!!

SO, since we were done with all of the DEstruction, it was time (in late September, early October by then) to begin reCONstruction..  That'll be another post later this week  :-)  And you can hold me to that one!!!
Talk to you then!!

Saturday, May 28, 2011

I am returning, from A LOT of things :-)

Just wanted to drop a quick post and let anyone who might still be out there know that I am, indeed, still alive.  This past year has been a doozy for me with relearning how to balance everything in my life.  Those of you who know me personally know the details, & the rest of you just need to know that I'm not one to advertise  :-)  Just suffice to say that life had gotten so FAR out of balance that I had felt like I was drowning.  I now have my life preserver securely in place & am enjoying the new ride of life.  This isn't to say that everything is enjoyable or easy, just that I feel sooo much more capable of taking care of what needs to be done.
This also means that I haven't been in my scrap cave a whole lot this past year.  As a matter of fact, one of the joys that I'm looking forward to is redoing a room in my house to create a new workshop / creative cave space - when it's all done my space will be a HEAVENLY 14x18 foot space!!  First job is to refloor my first floor back room - then I can start on the basement creative space.  It'll be busy, but I'll take pictures & post those.  Once all of that mess is finished, THEN I can get back to my love of papercrafting & will start posting for that again.  It's been over a year already, so I don't think anyone will mind the continued crafty hiatus!!  I'll get the home improvement pics posted, though.  It'll be fun  :-)
Hope that everyone is enjoying good weather, wonderful friends, and delicious food!!  Thank-you to all of our veterans for all that you have done so that we can all have the blessings that we do in our lives.  May you never be taken for granted.

Thursday, May 13, 2010

Another Scripture Swap!

This time, the swap featured the "Veranda" paper pack...  BUT, I decided to make my own paper, keeping with the Veranda colors.

The left side of the page is done using a "sueding" technique of sponging the Creme Brulee ink onto the Creme Brulee CS (I used a piece of paper along the side to mask of the solid line.).  Then, using the "Damask Tiles" stamp set, I stamped four identical tiles onto each of the remaining corners of the un-sueded portion of the page.  I used a smaller tile and stamped it onto Juniper CS four times, then used a punch to get the squares.  One of the four squares was then cut in half diagonally in order to make the photo corners.  The other three squares (and the verse) were all mounted onto Cocoa CS.  The verse is printed on my computer, using the RGB codes to help it to match with my layout. 

Hope that you like it!  I know that I enjoyed the results of the swap - it is SOOO nice to see ideas from other scrappers!
Have a great night!

Wednesday, May 12, 2010

Bella is good!

Anyone who knows and loves all things stamping has likely heard of the "Stampin Bella's"  They are SUCH a cute little line of stamps featuring "Bella" and her "Fella" in a variety of hobbies and activities...  WELL, I have begun a Bella collection and decided to marry Bella to some CTMH paper.  Here's the end result:

I stamped the Bella image - called "Spa Bella" - once on the White Daisy CS, and once onto the purple printed B&T from the retired "Paper Garden" pack.  Using microtip scissors, I cut out the towel, robe, and slippers from the Bella on the B&T, then ran them through the Xyron to make stickers.  Finally, I placed the now printed Bella image over top of the plain stamped image.  NOT the easiest way of coloring in an image, but I really wanted her to have a floral robe, etc.  :-)  The striped paper is also from the "Paper Garden" pack, and the CS are petal (with edges sanded) and blush.  All in all, a simple card, but you HAVE TO HAVE the microtip scissors to cut out the itsy-bitsy pieces like the towel and slippers!

Now...  She looks happy with her drink, so I think I'll take up her suggestion  :-)  Have a wonderful night!